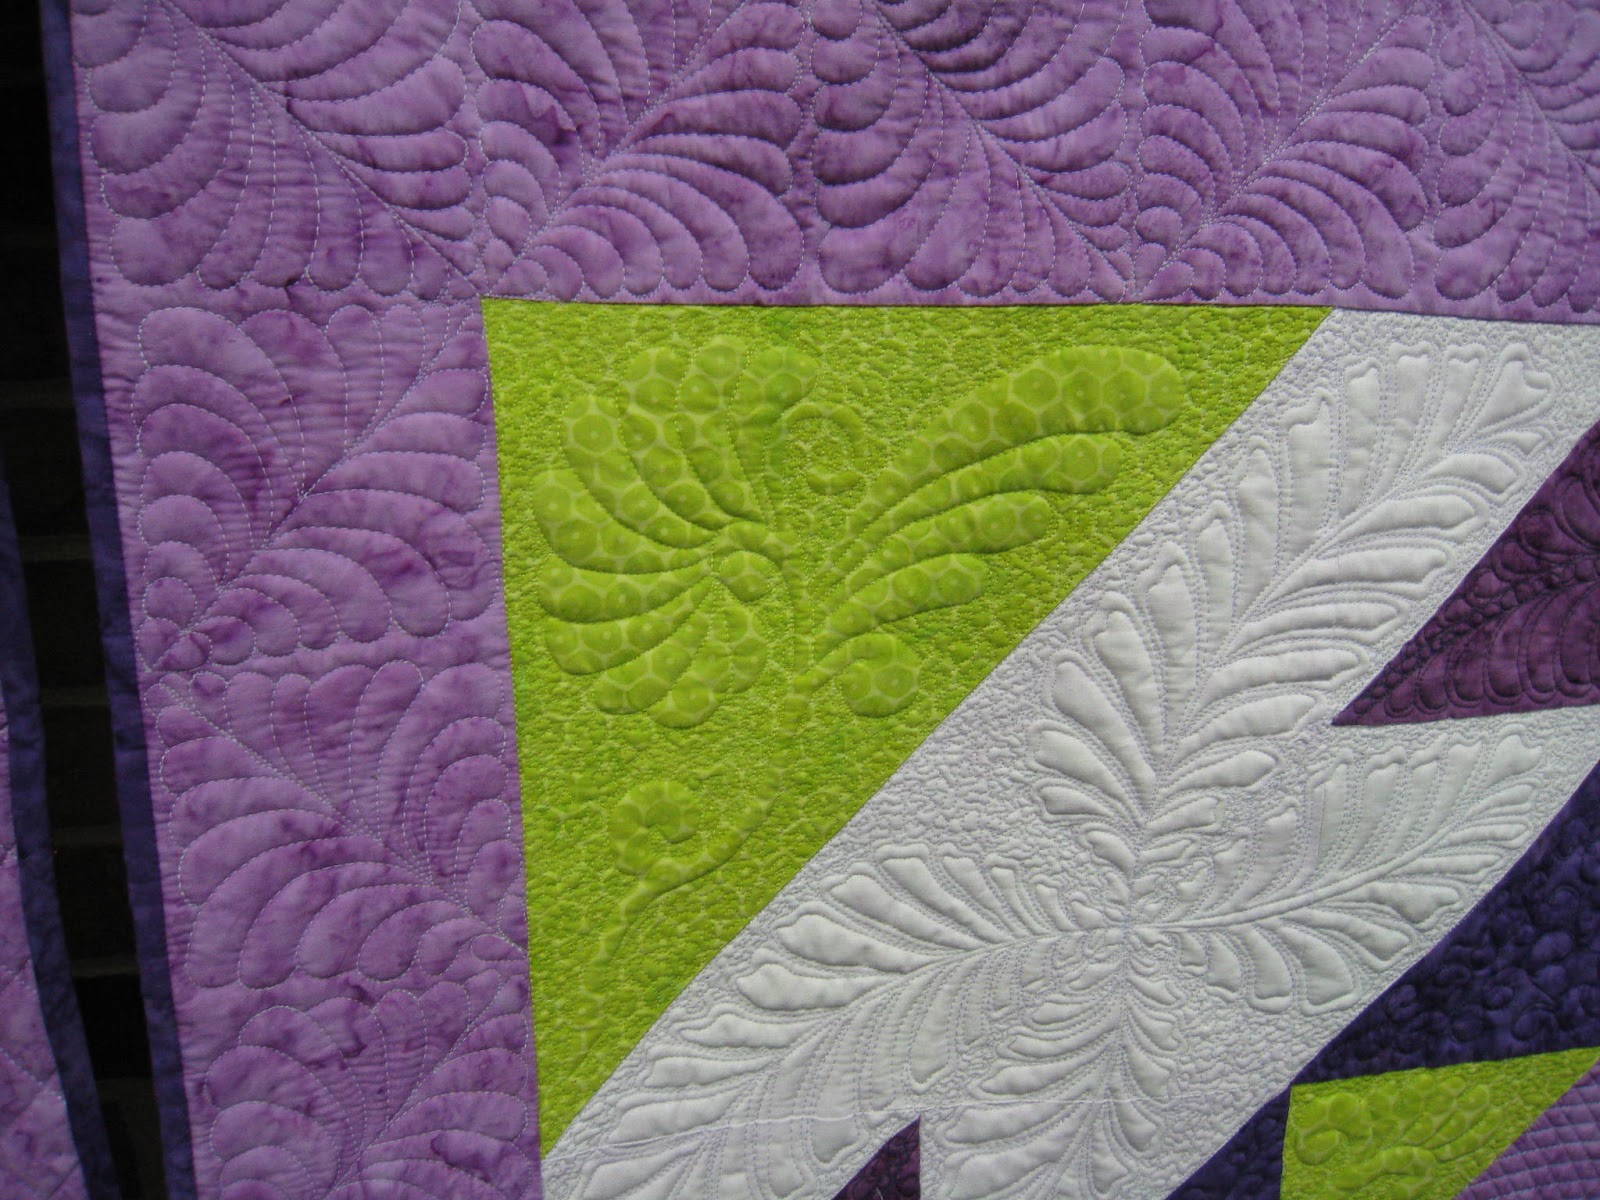
NILAG has members from Chicago west towards Rockford, from the Illinois-Wisconsin state line down to Peotone.
Arlington Heights
|
Bolingbrook
|
Itasca
|
Plainfield
|
Aurora (3)
|
Carol Stream
|
Lombard
|
Villa Park
|
Barrington
|
Chicago
|
Marengo
|
Westmont
|
Bartlett
|
Elgin (2)
|
Naperville
|
Wheeling
|
Bensenville
|
Gurnee
|
Palatine (2)
|
Watertown, WIS
|
|
Homewood
|
Peotone
|
|
If you are looking for someone to help complete your quilt, our guild has a number of talented professional quilters available to assist you. Please contact me at debquilts1@comcast.net and I will match you with a quilter in your area.
For a beautiful finished quilt, there are a number of things to consider. The following information can be used to achieve the best possible finished product.
Preparing Your Quilt Top for the Longarm Quilter
Consider the size of your quilt and what kind of quilting you would like. Dense quilting can make a quilt stiff and less drape-able, not suitable for most beds and definitely not for baby quilts. Custom and heirloom quilting, where the design and density varies over the surface of the quilt is more expensive than having a simple "edge-to-edge" designs. Discuss thread choices - solid color or variegated, cotton or blended fibers. Get an estimate in writing.
Now, let me tell you the things that professional quilters love to see when a quilt top and back are delivered to them:
1. FLAT, PRESSED QUILT BLOCKS - Your quilter should be able to compensate for imperfect piecing by using a puffier batting or by quilting more densely in some parts than in others. This may incur "custom" quilting charges. Be honest with yourself. A good quilter can handle a little unevenness, but if you have a D-cup block you probably should consider re-doing the block, because even puffy batting may not help in that case.
2. TRIMMED THREADS AND TRIANGLE POINTS - Stray threads or triangle points can show through the finished quilt and detract from the beauty of your finished quilt. Some professionals will figure that if you don't care about stray threads then they won't care either. They will go ahead and quilt it just the way you gave it to them. Others will trim the threads and charge you extra for doing it. If you trim those stray threads before you give the quilt to them, they will appreciate it.
3. A PRESSED TOP WITH FLAT SEAMS - A nicely pressed top will improve the look of the quilt. It is okay if some of the seams are twisted; that happens when you quilt. If you bring it in pressed, trimmed and placed on a heavy duty plastic or wood hanger to minimize how many times you need to fold it, that would be really lovely! Some quilters will press your quilt for you, but they will charge extra for it. Save yourself some money and do this yourself.
4. OPTIONAL STAY-STITCHED OUTSIDE EDGES - If the piecing goes all the way to edge of the quilt or you have bias edges on the outside edge of the quilt, it is recommended to stitch a scant 1/4 inch all the way around the outside edge of the quilt. This will help keep the seams from popping and the edges from distorting. This is not necessary for quilts with borders.
5. FLAT BORDERS - Sometimes a quilter can compensate for wavy borders by using puffy batting or quilting densely in the borders, but if there is too much extra fabric a quilter will need to take tucks in the border.
HINTS FOR APPLYING BORDERS: Borders cut to fit the quilt as opposed to sewn then trimmed will "square-up" the quilt top and eliminate the problem of "wavy borders". Here is a simple method that does not require a tape measure. Prepare your fabric strips. If you need to piece the length you can use a straight seam or 45 degree piecing technique. Place quilt top on a flat surface. Lay he top and bottom border strips across the center of your quilt. Smooth out quilt top and strips so they are perfectly flat. Cut both strips at the same time to the exact length of the quilt. Divide the strips and the edge of the quilt in half and then in quarters and mark with pins. Match the border pins to the pins on the quilt top. If you need more reference points divide the quarters into eights with more pins. Sew and ease between the pins as necessary. Press and repeat for the side borders.
6. A CLEAN QUILT - Please try to keep your quilt top clean and free from pet hair and odors. As professional quilters we will sometimes have to quilt for people with allergies. Pet hair, mildew, mothball and smoke can transfer to our leaders and affect the next customers quilt. If you have to wash the top before having it quilted, be sure to stitch with scant 1/4 inch seam allowance all the way around the outside edge of the quilt. Wash by hand, and gently roll the top between towels to get most of the moisture out. Let air dry. Or fill the washing machine, let soak a few minutes, spin and air dry. Then give it a good pressing. Check for loose threads.
7. A WELL PREPARED BACKING - Your quilt back should be a MINIMUM of 3-4" bigger than your quilt top on each side. That means a total of 6-8" longer and 6-8" wider, maybe more if dense custom or heirloom quilting will be done. Ask your quilter. how much extra length and width she will require. Quilters need that extra fabric to attach the quilt to the bars and side clamps of their frame. Insufficient fabric on the sides may cause the machine to collide with the clamps during quilting, potentially causing damage to the clamps, the machine or your quilt. It could also cause a safety hazard for the quilter. Quilters also use the side edges to test the tension of their machine to make sure their settings work perfectly with your quilt.
If you piece your backing, which is most often the case, make sure to trim off the selvages. They will shrink unevenly when you wash the quilt and create a puckered line. Use a 1/2- 5/8" seam and PRESS THE SEAM OPEN. That will minimize the bulk as the quilt advances onto the roller, and minimize waves and distortion. Ideally, the quilt back can be loaded so the seam runs parallel to the bars, this is usually horizontally. This takes the bulk of the seam out of the equation, but that may not always be possible depending upon the kind of quilting your quilter is doing, especially with directional pantographs.
The outside edges of the backing should be straight. Do not leave any sections "sticking-out". Square up your quilt back. If it is 6" longer on one side than the opposite side, your quilter will have to square it up before she can attach it to her frame. You can do this by folding it in quarters and using your rotary cutter and rulers to trim it even. Just make sure the back ends up at least 6-8" longer and wider than the quilt top. Press the backing.
8. BATTING CHOICES - Most professional quilters will have rolls of their favorite battings. Consider how you want it quilted and how the quilt will be used. Is it a full size bed quilt, or a baby that will require lots of washing. Is it going to be a wall hanging where it will seldom if ever be washed. Remember that cotton shrinks more than polyester. So you like that "dimpled" antique look, go with cotton. Check with the manufacturer for the amount of shrinkage to expect. You have spent a lot of time and money on your quilt top, now is not the time to pinch pennies. Discuss the batting choices with your quilter and choose a batting that will give the best results for YOUR final project. If we do not carry the brand or type of batting you prefer, most quilters will be happy to work with you if you want to bring your own batting.
9. TO TRIM OR NOT TO TRIM - Some quilters trim the excess batting/backing from the quilt after they quilt it, others return it to you untrimmed. Do you like to "pack" your binding with extra batting? Then you probably will choose NOT to have it trimmed. Discuss trimming with your quilter. Either way, the excess fabric should be returned to you. You can often use that extra backing fabric for binding or it can be cut it in strips or squares and used on another quilt.
CLICK for Downloadable PDF
Click on the small document to the left, then choose the download button on the bottom right, if using Windows 7, then click OPEN.


